Connect the starter template to the AI editor
Step 1: Navigate to the Dev-Docs dashboard
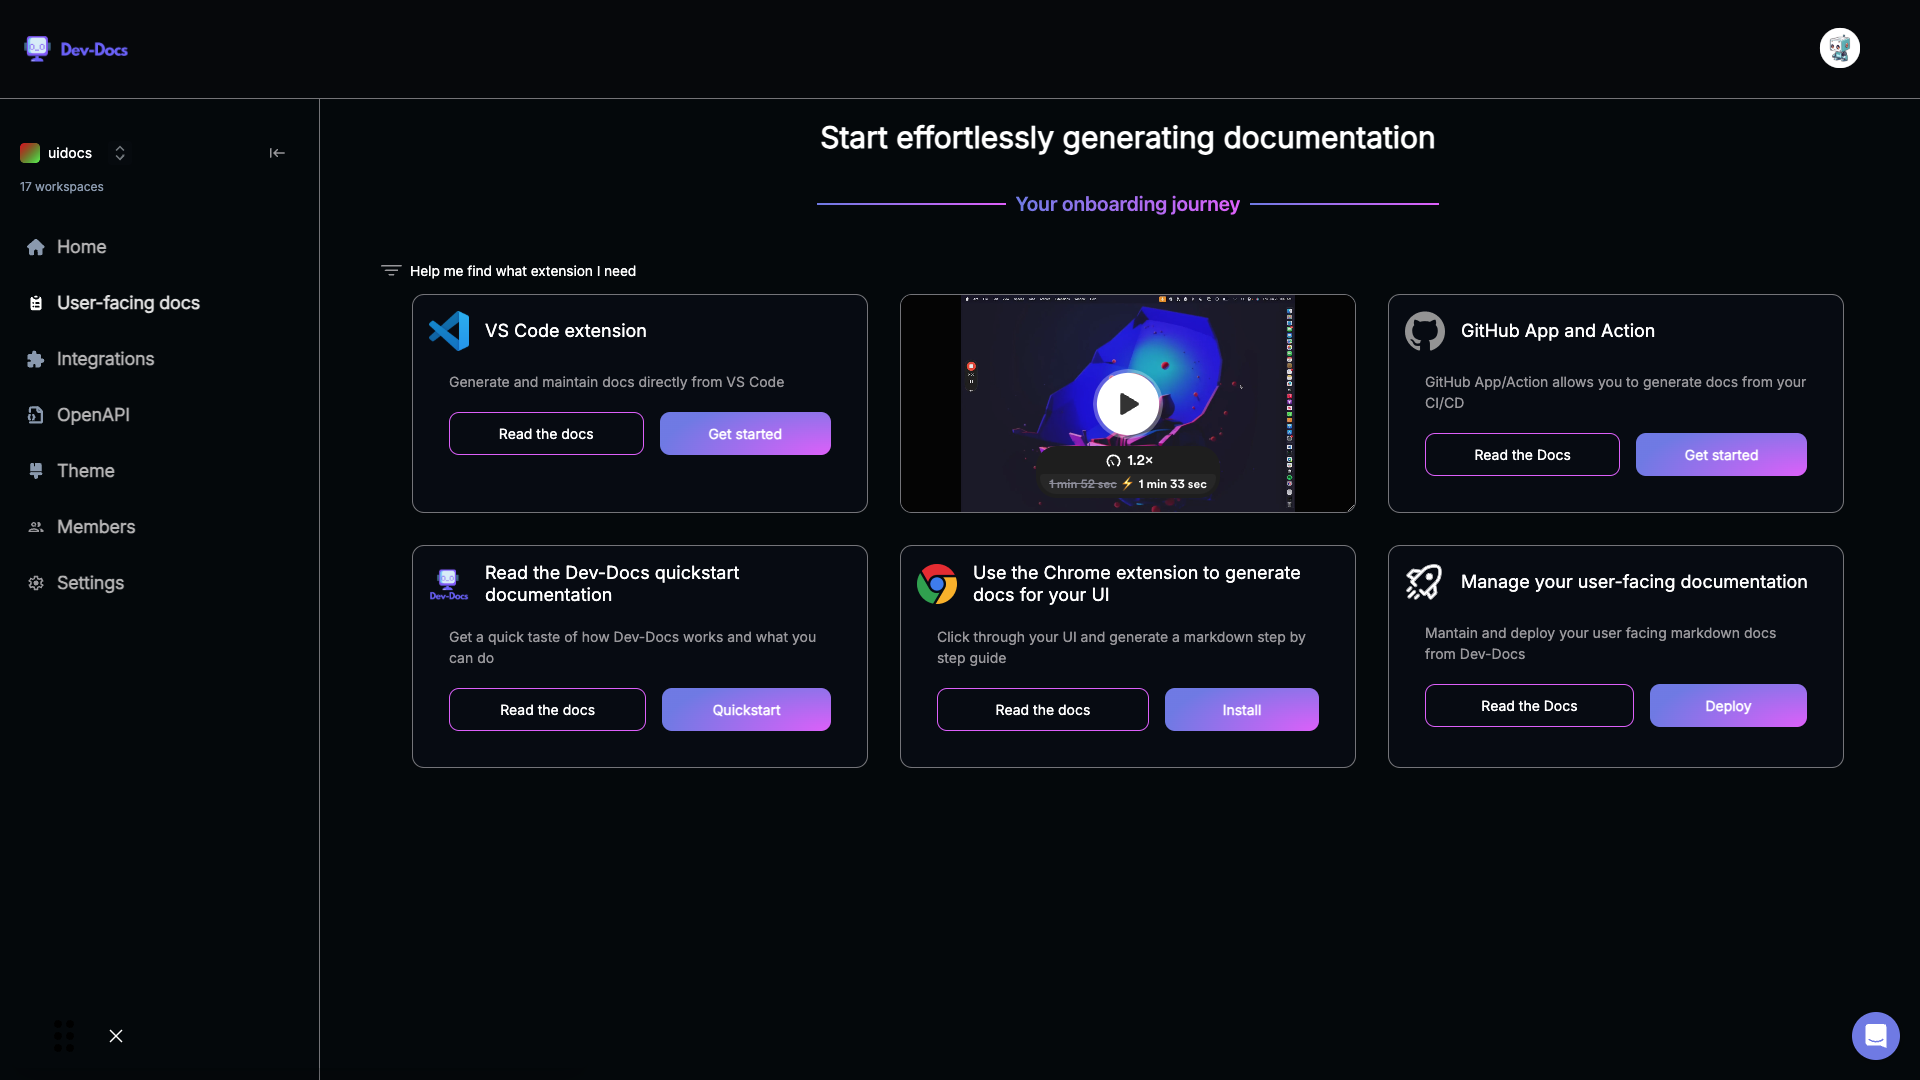
Navigate to the Dev-Docs dashboard, and to the left click "User-facing docs"
Step 2: Generate Starter template docs

Click setup and then in the dialog select "use our template" to generate your own starter docs repository for Dev-Docs to connect to.
Step 3: Create a new repository on GitHub
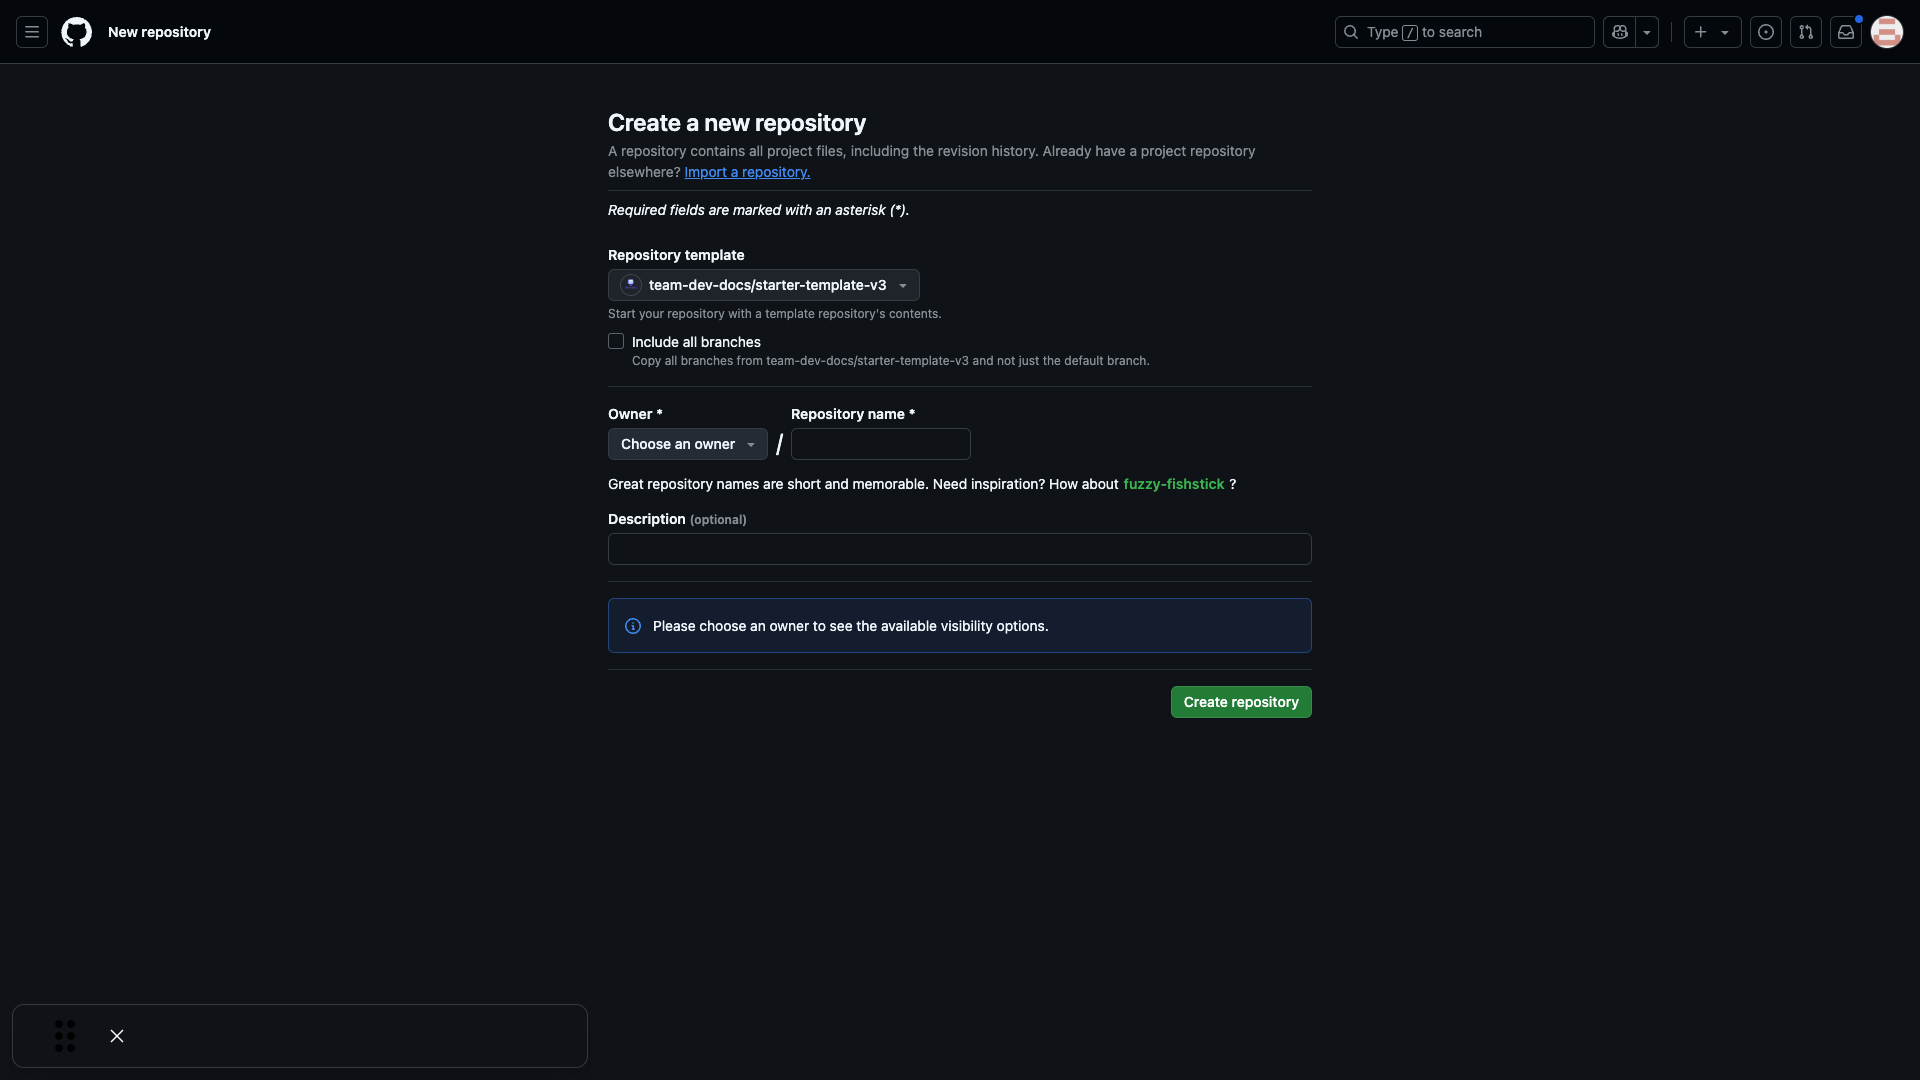
On the GitHub page, click on "New repository" to create a new repository for your documentation.
Step 4: Set up the repository details

Fill in the repository details:
- Choose the repository template (e.g., team-dev-docs/starter-template-v3)
- Set the owner
- Name your repository (e.g., my_cool_new_docs)
- Choose visibility (public or private)
Click "Create repository" when done.
Step 5: View the newly created repository
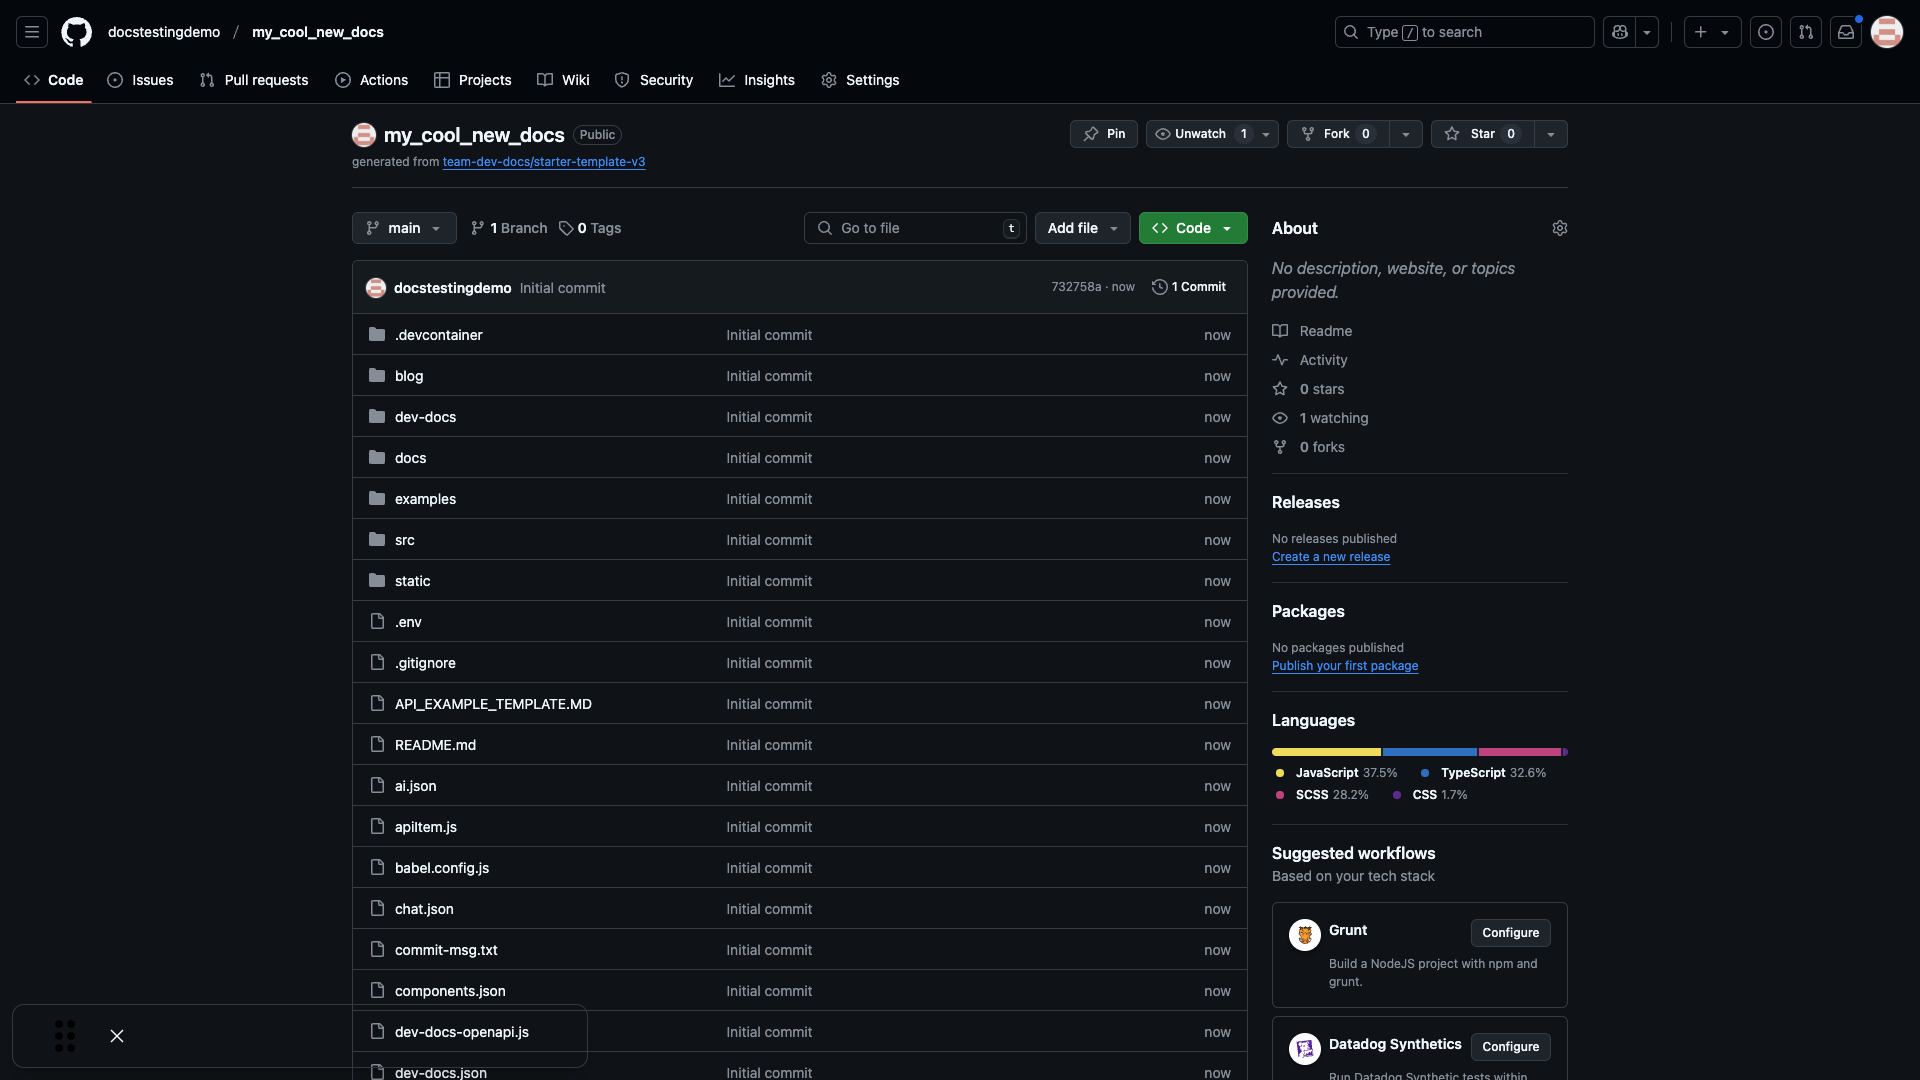
Your new repository is now created with the initial commit and files from the template.
Step 6: Return to Dev-Docs to connect your new docs
Back in Dev-Docs, you'll see a prompt to set up your docs. Click "Connect your own docs" to proceed.
Step 7: Set up User-Facing Docs by installing GitHub App
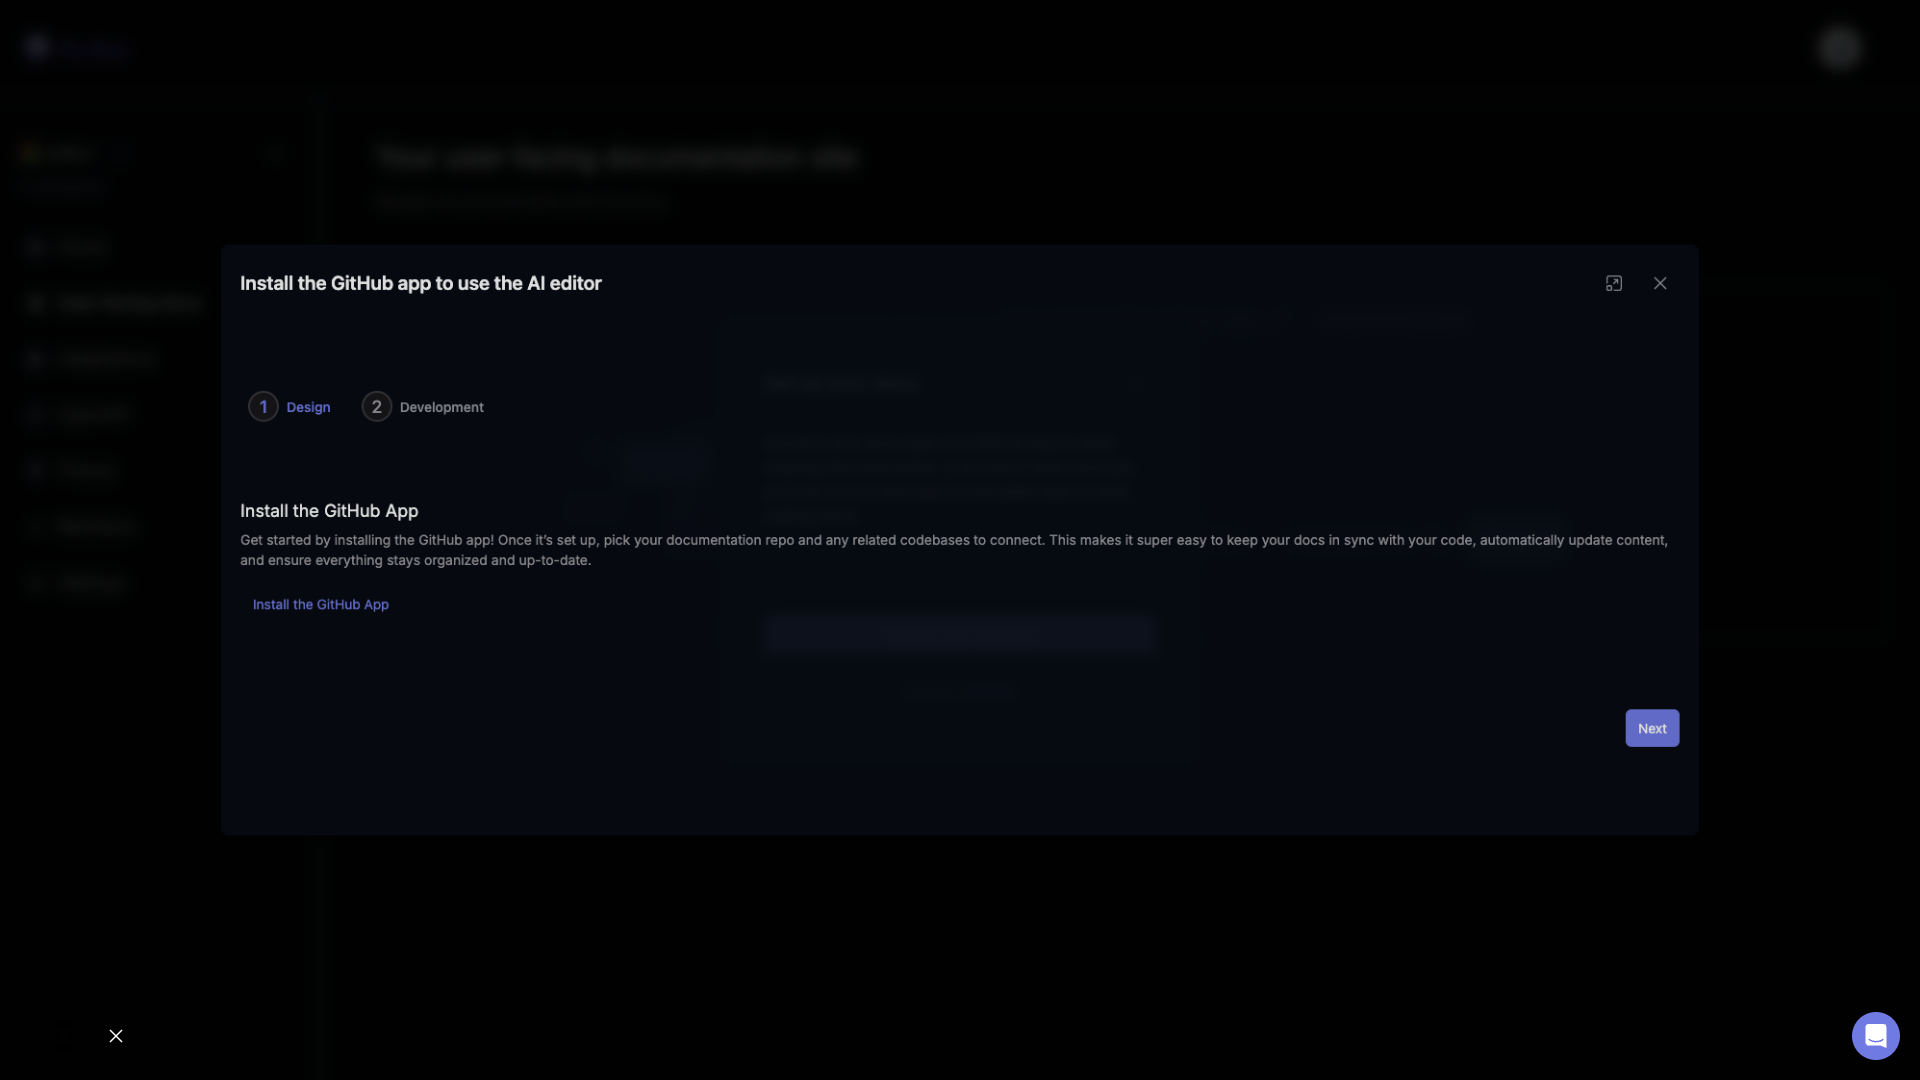
Click on "install the GitHub App" to begin the connection process.
Step 8: Confirm repository selection for GitHub App
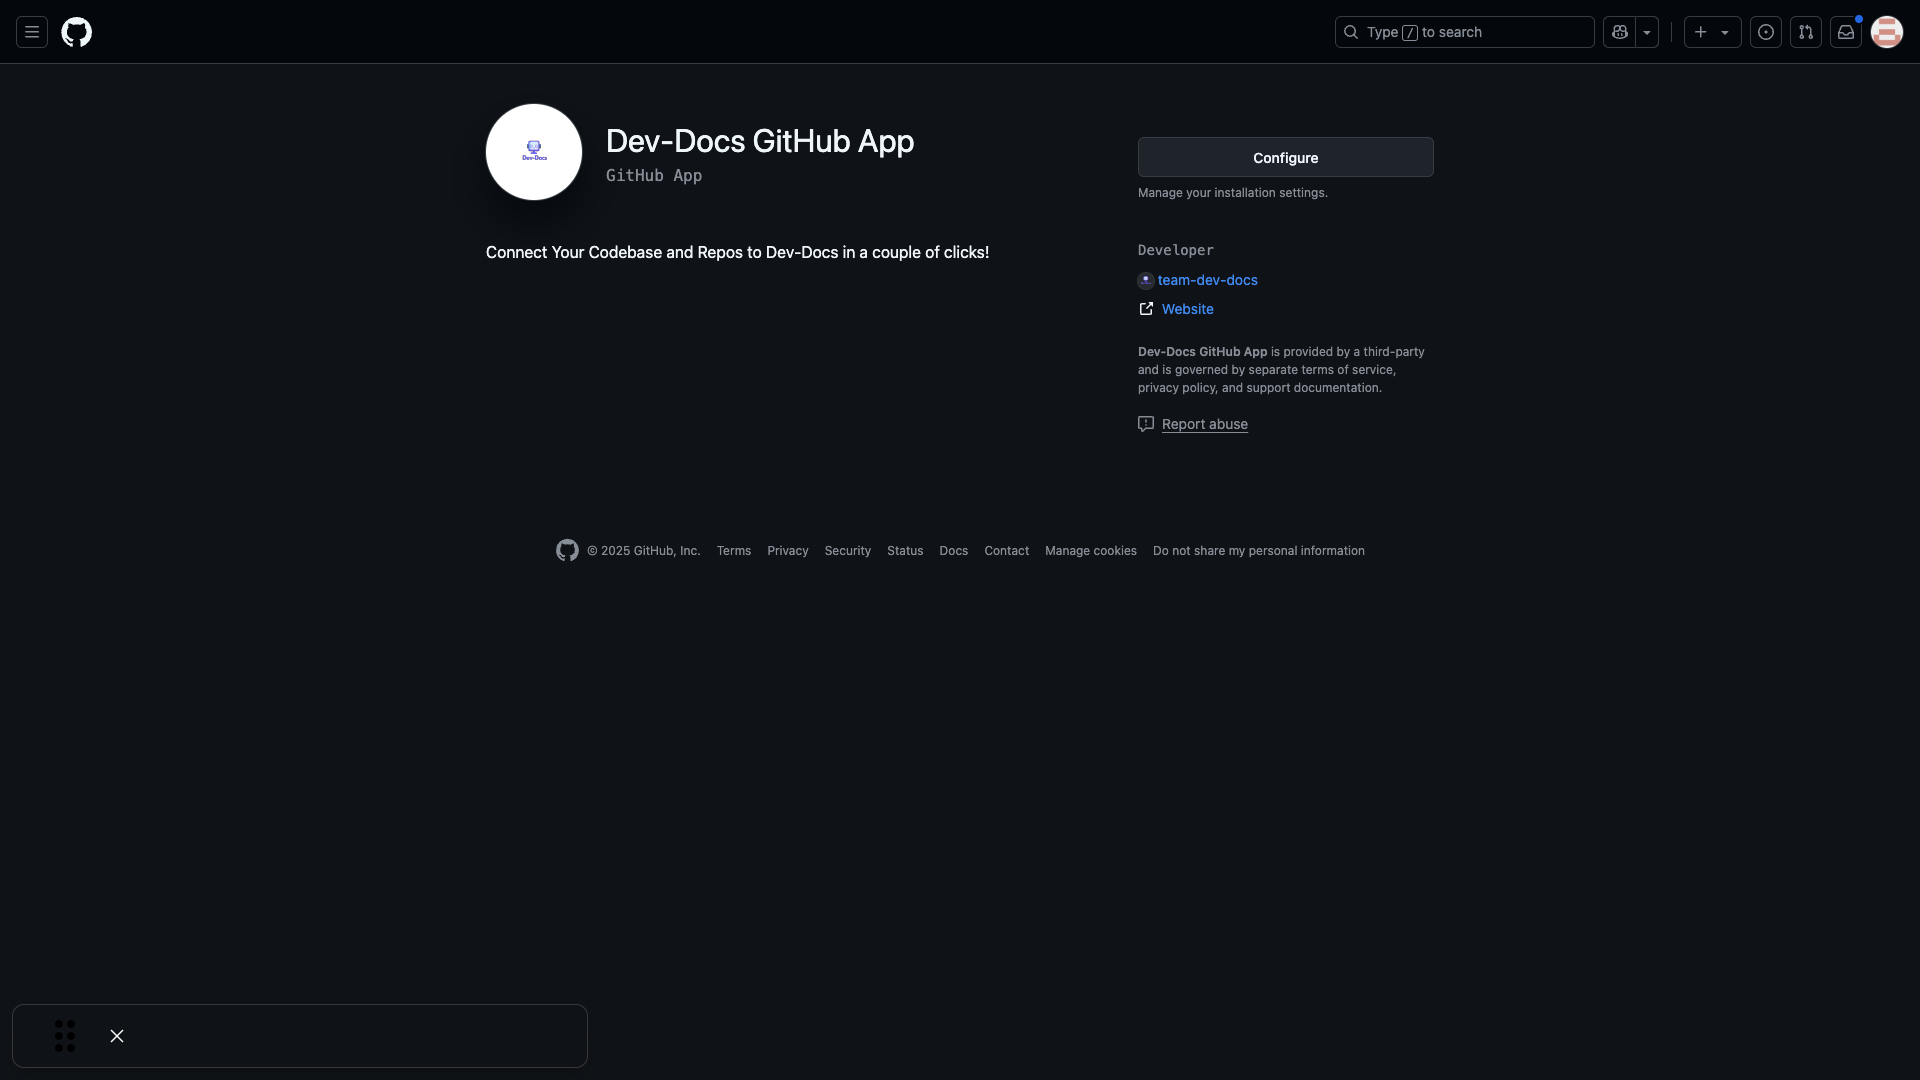
Click "install" or "Configure" if you have installed the app already.
Step 9: Select your GitHub account or organization
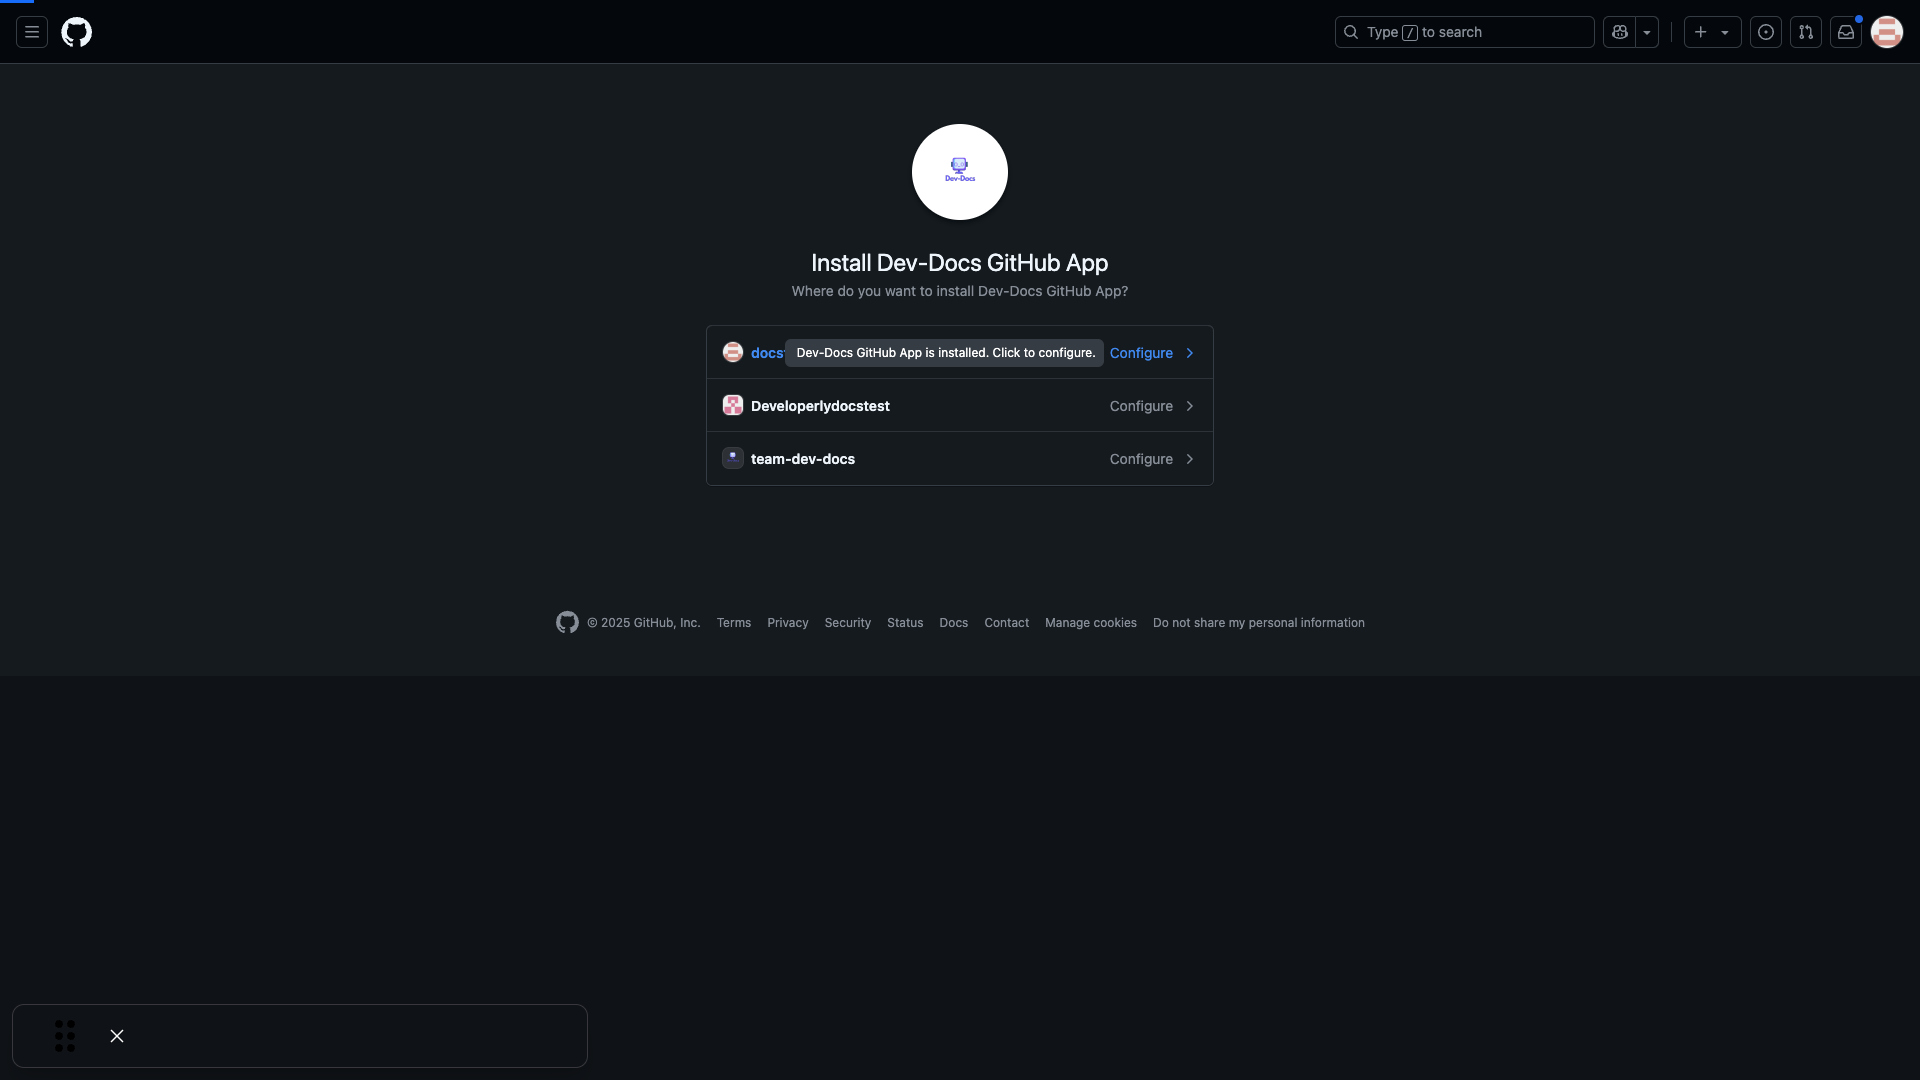
Select the GitHub account or organization where you want to install the app.
Step 10: Add the documentation repository
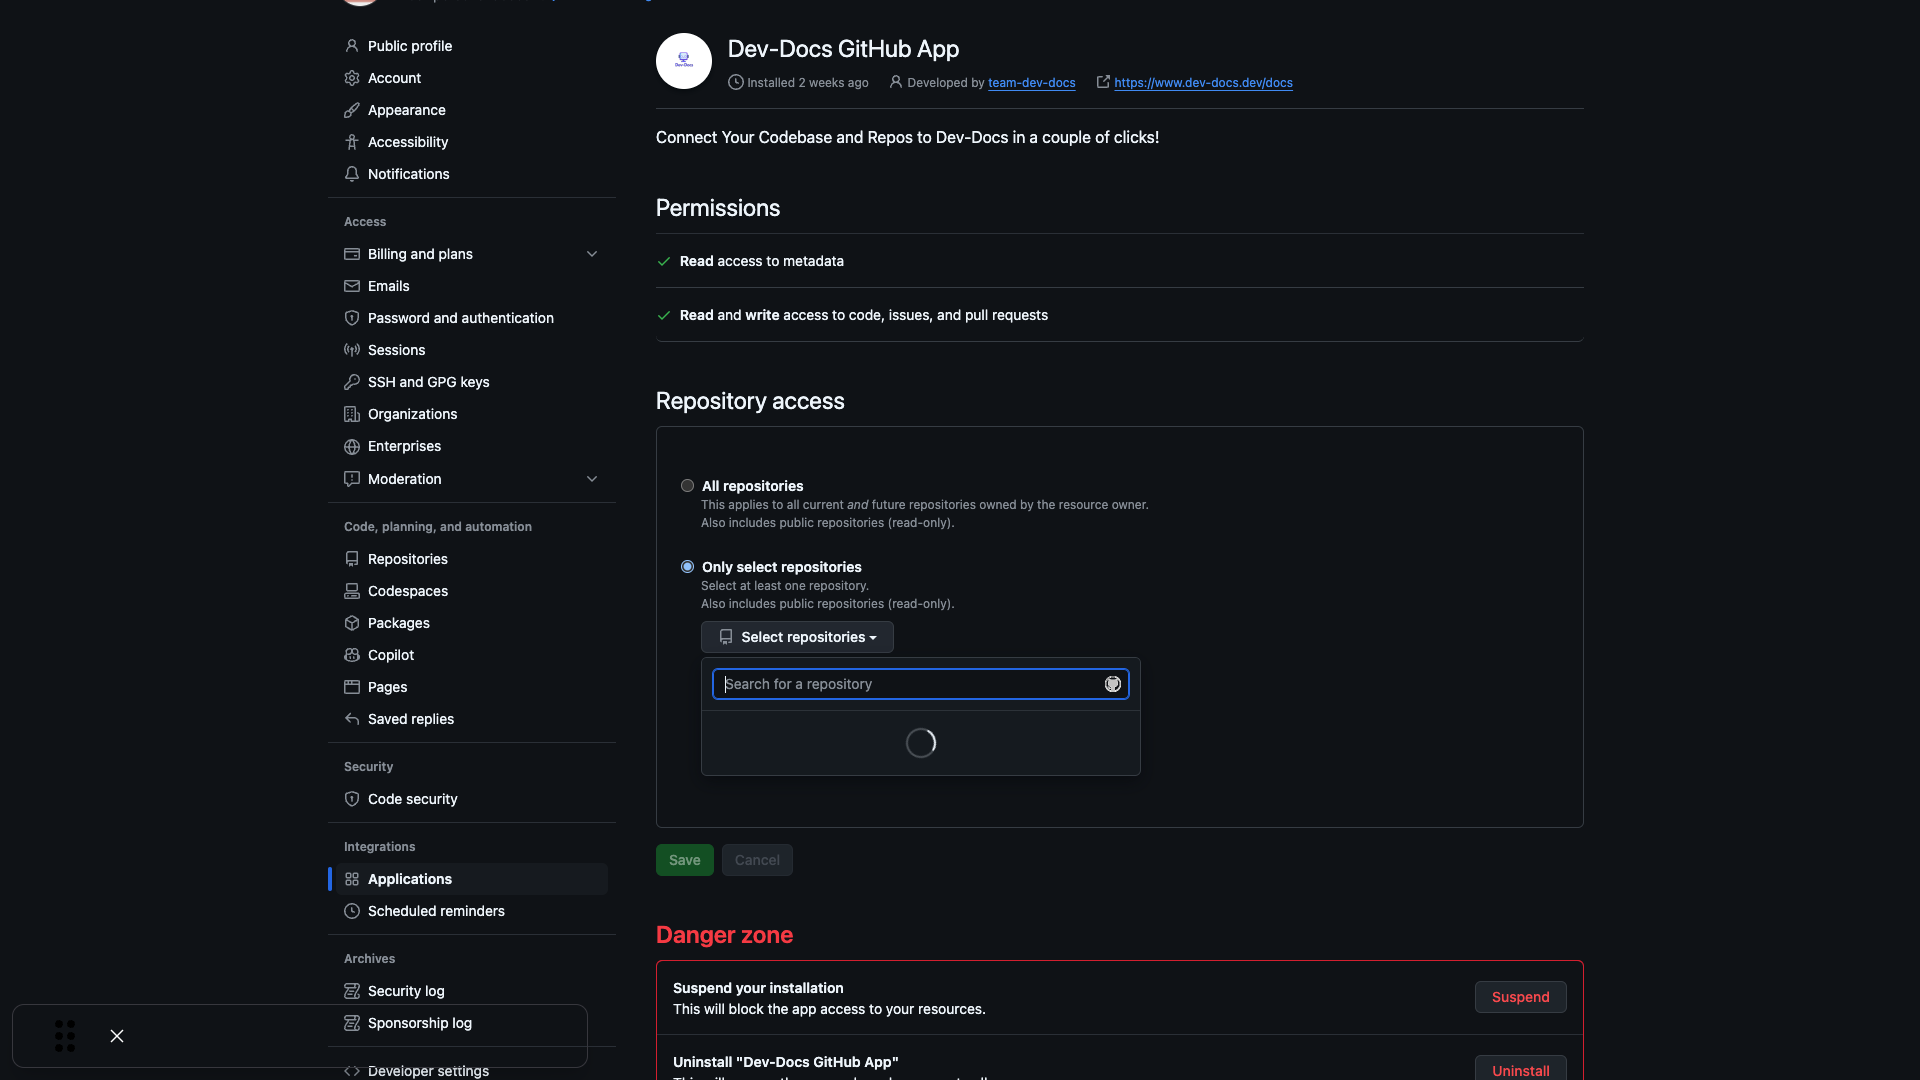
From the dropdown, select the docs repo we created in the prior steps. Be sure to select it and click "save".
Step 11: Associate your repository with your Dev-Docs organization
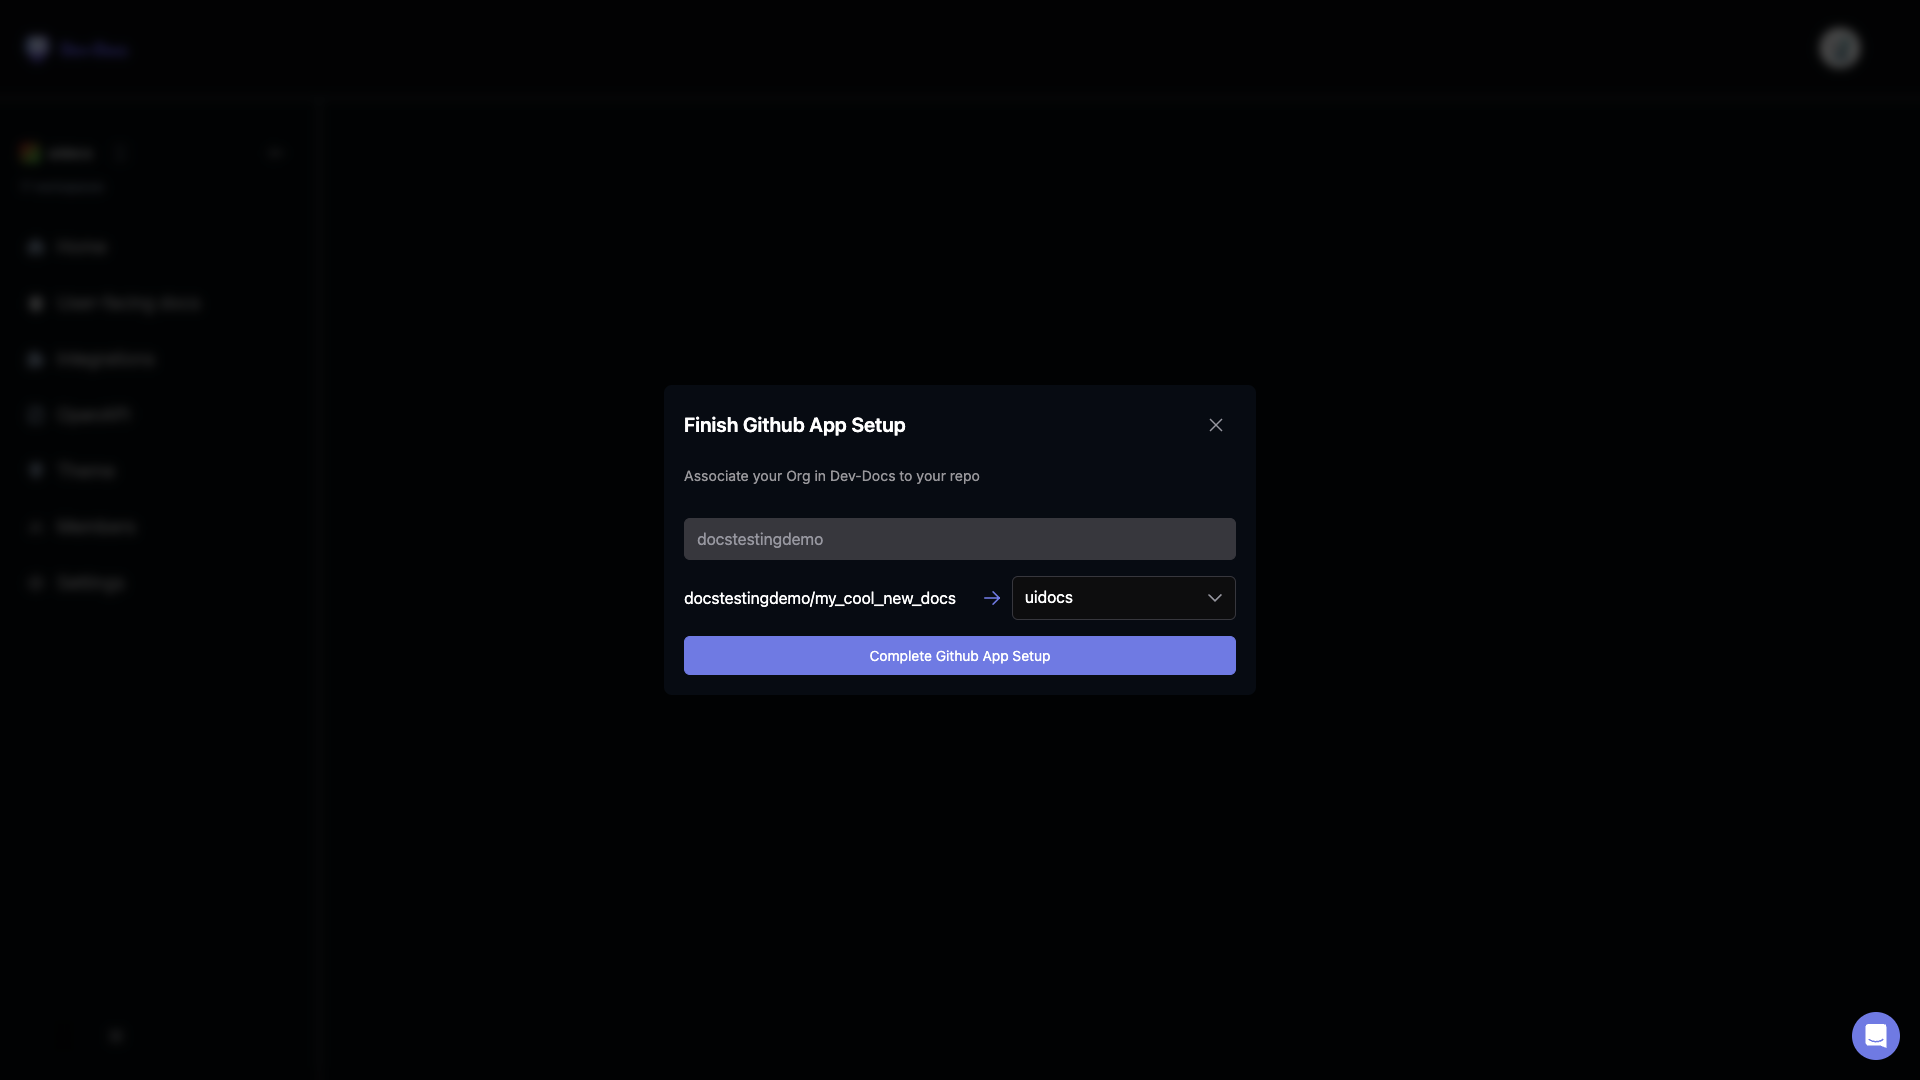
Check to make sure your repo name matches your desired Dev-Docs organization and click "complete GitHub App Setup".
Step 12: Set your documentation repository in Dev-Docs
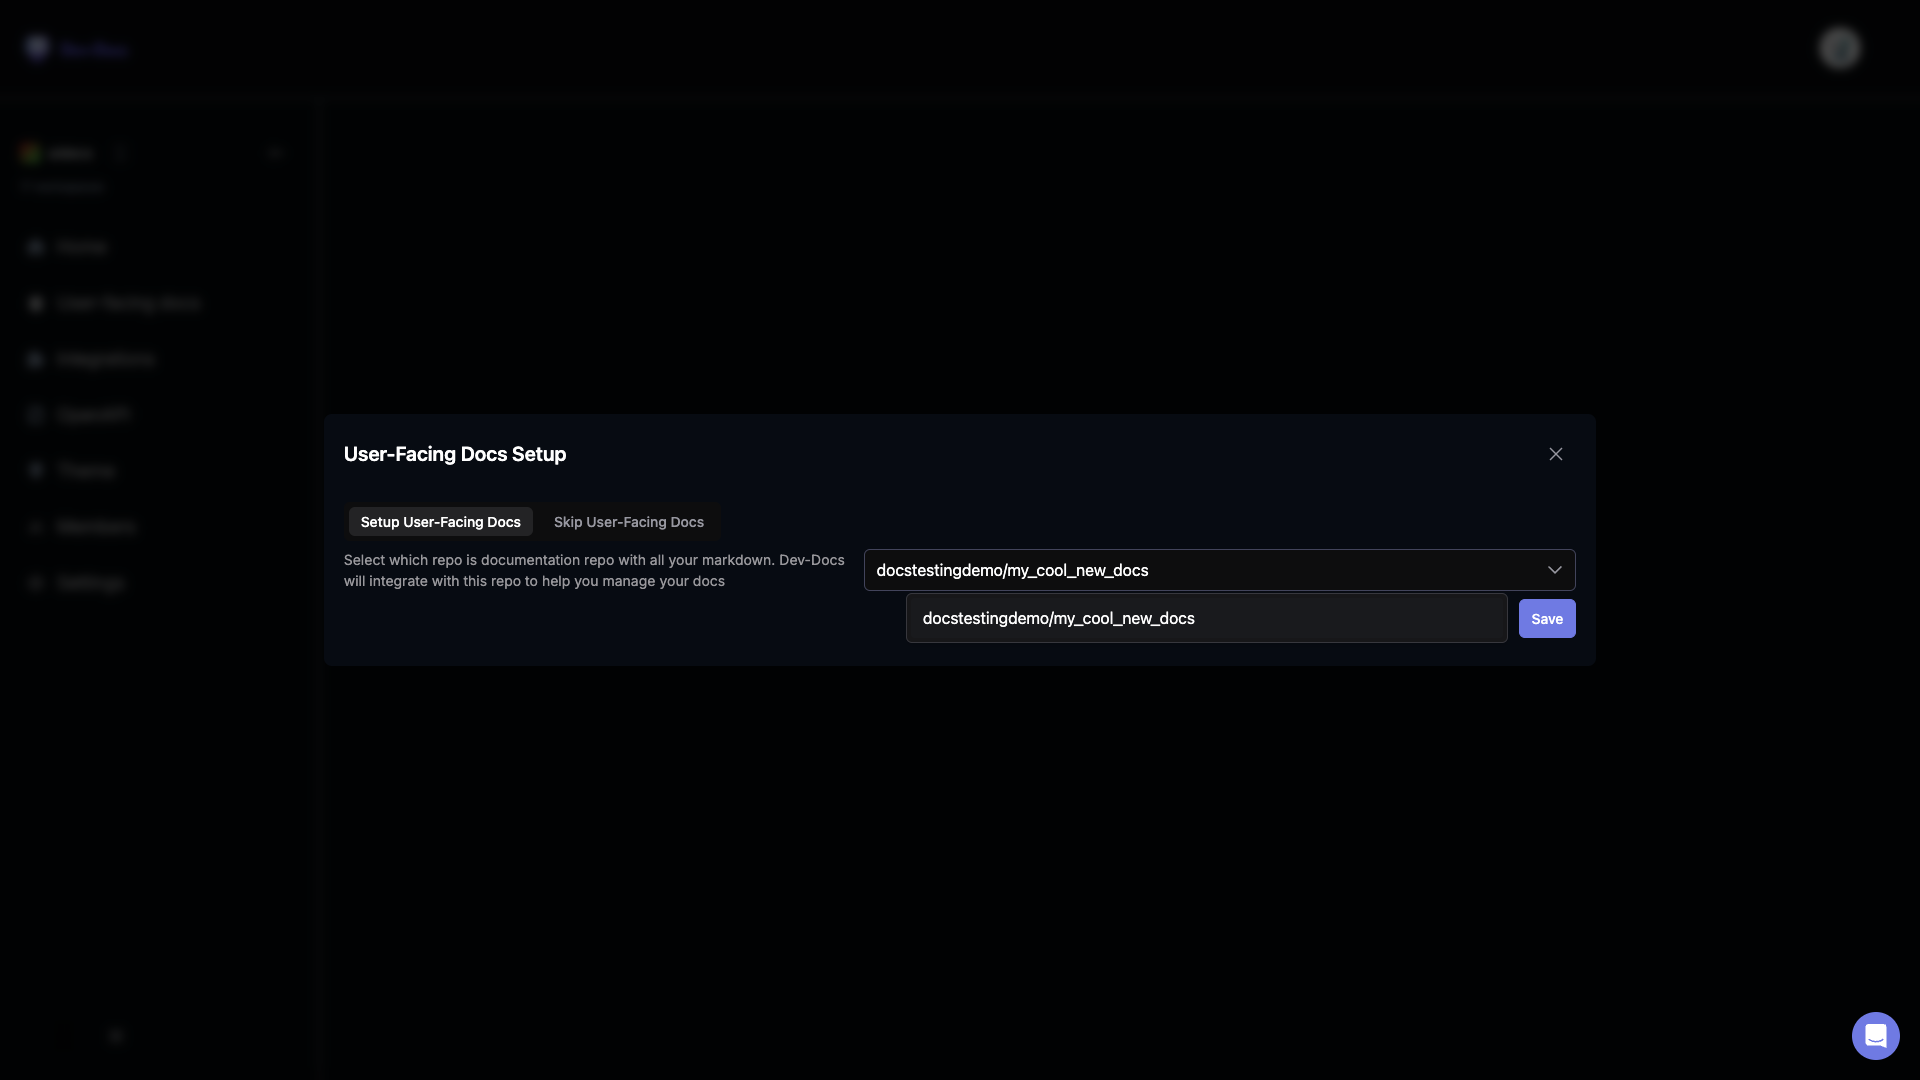
You should now see a dialog that prompts you to select your documentation repo. Make sure to select the one we set up from the dropdown. This tells Dev-Docs where your docs will live and where the Dev-Docs editor should connect.
Step 13: Open the AI editor for your new docs
You'll now have access to the AI editor interface where you can start creating and editing your documentation.
Step 14: Push changes to GitHub repository
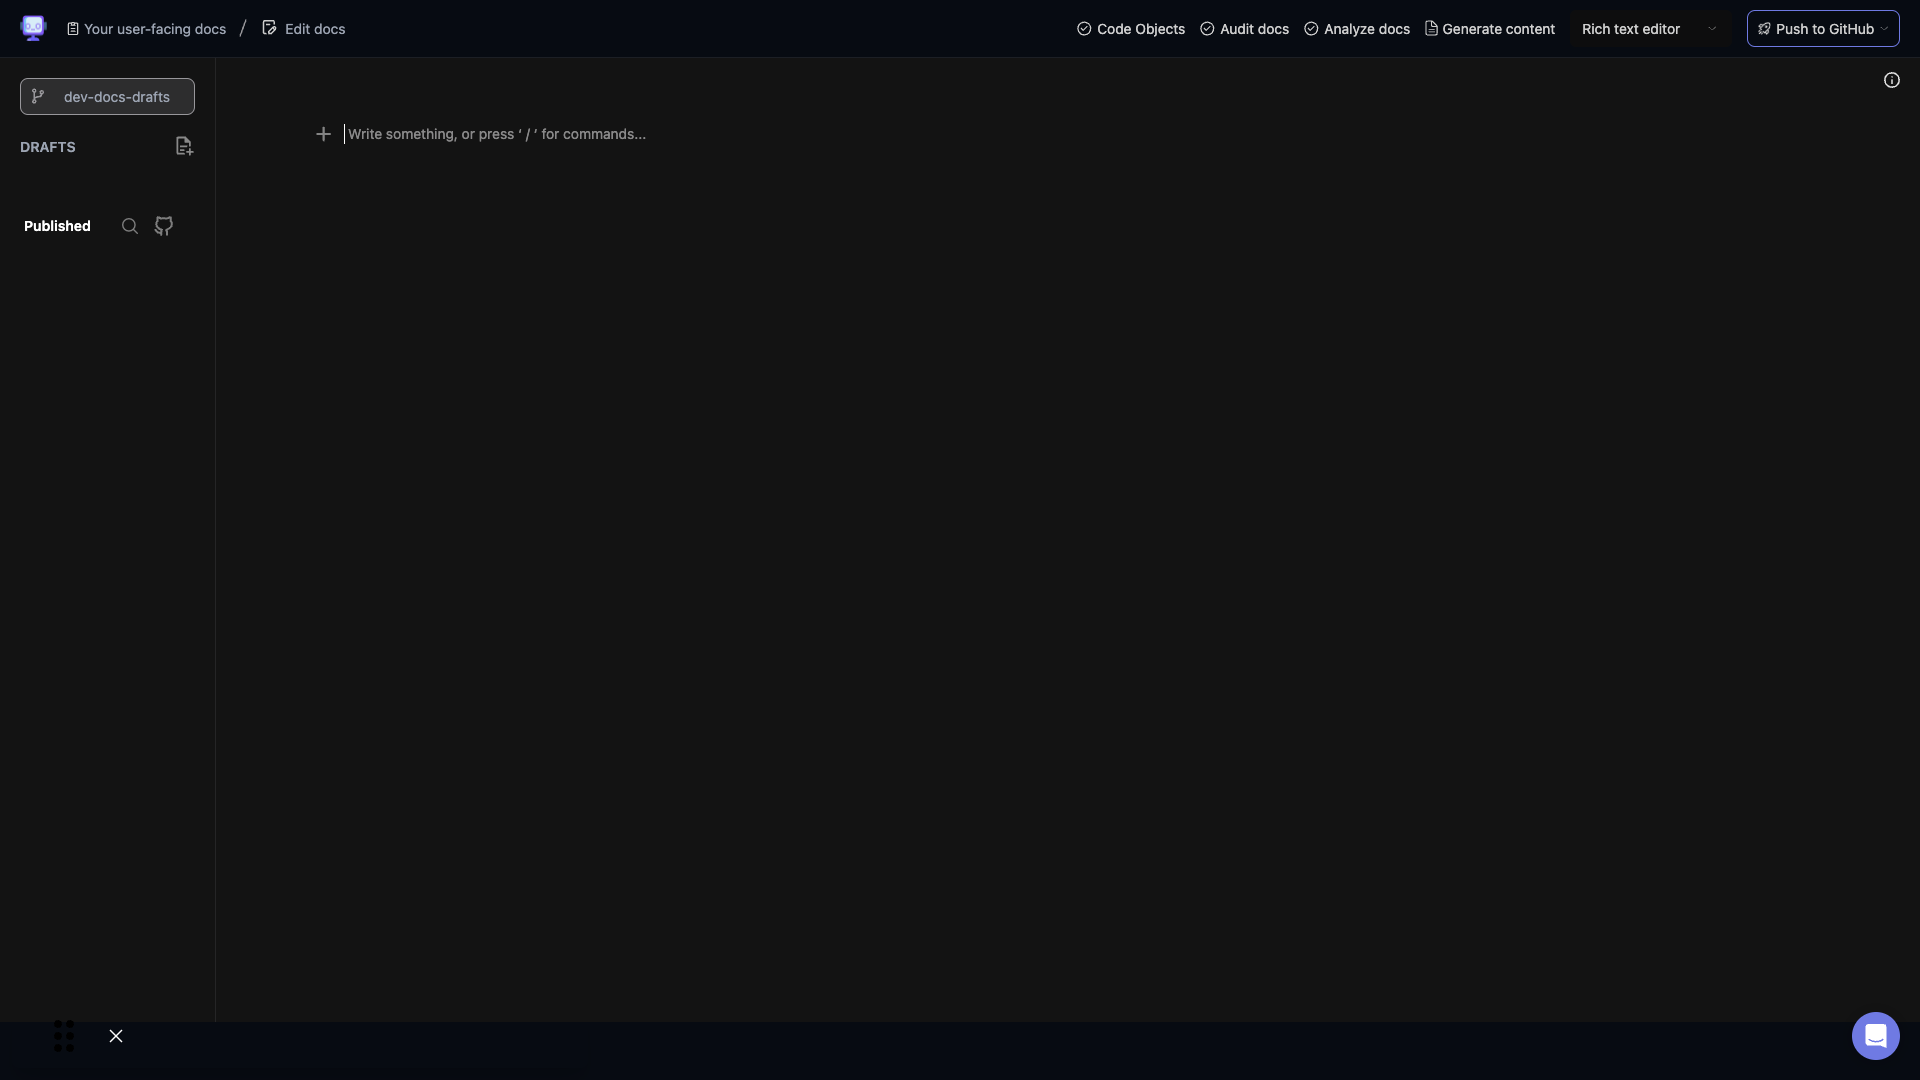
After making changes in the AI editor, use the interface to push your updates to the GitHub repository, ensuring your documentation stays in sync.
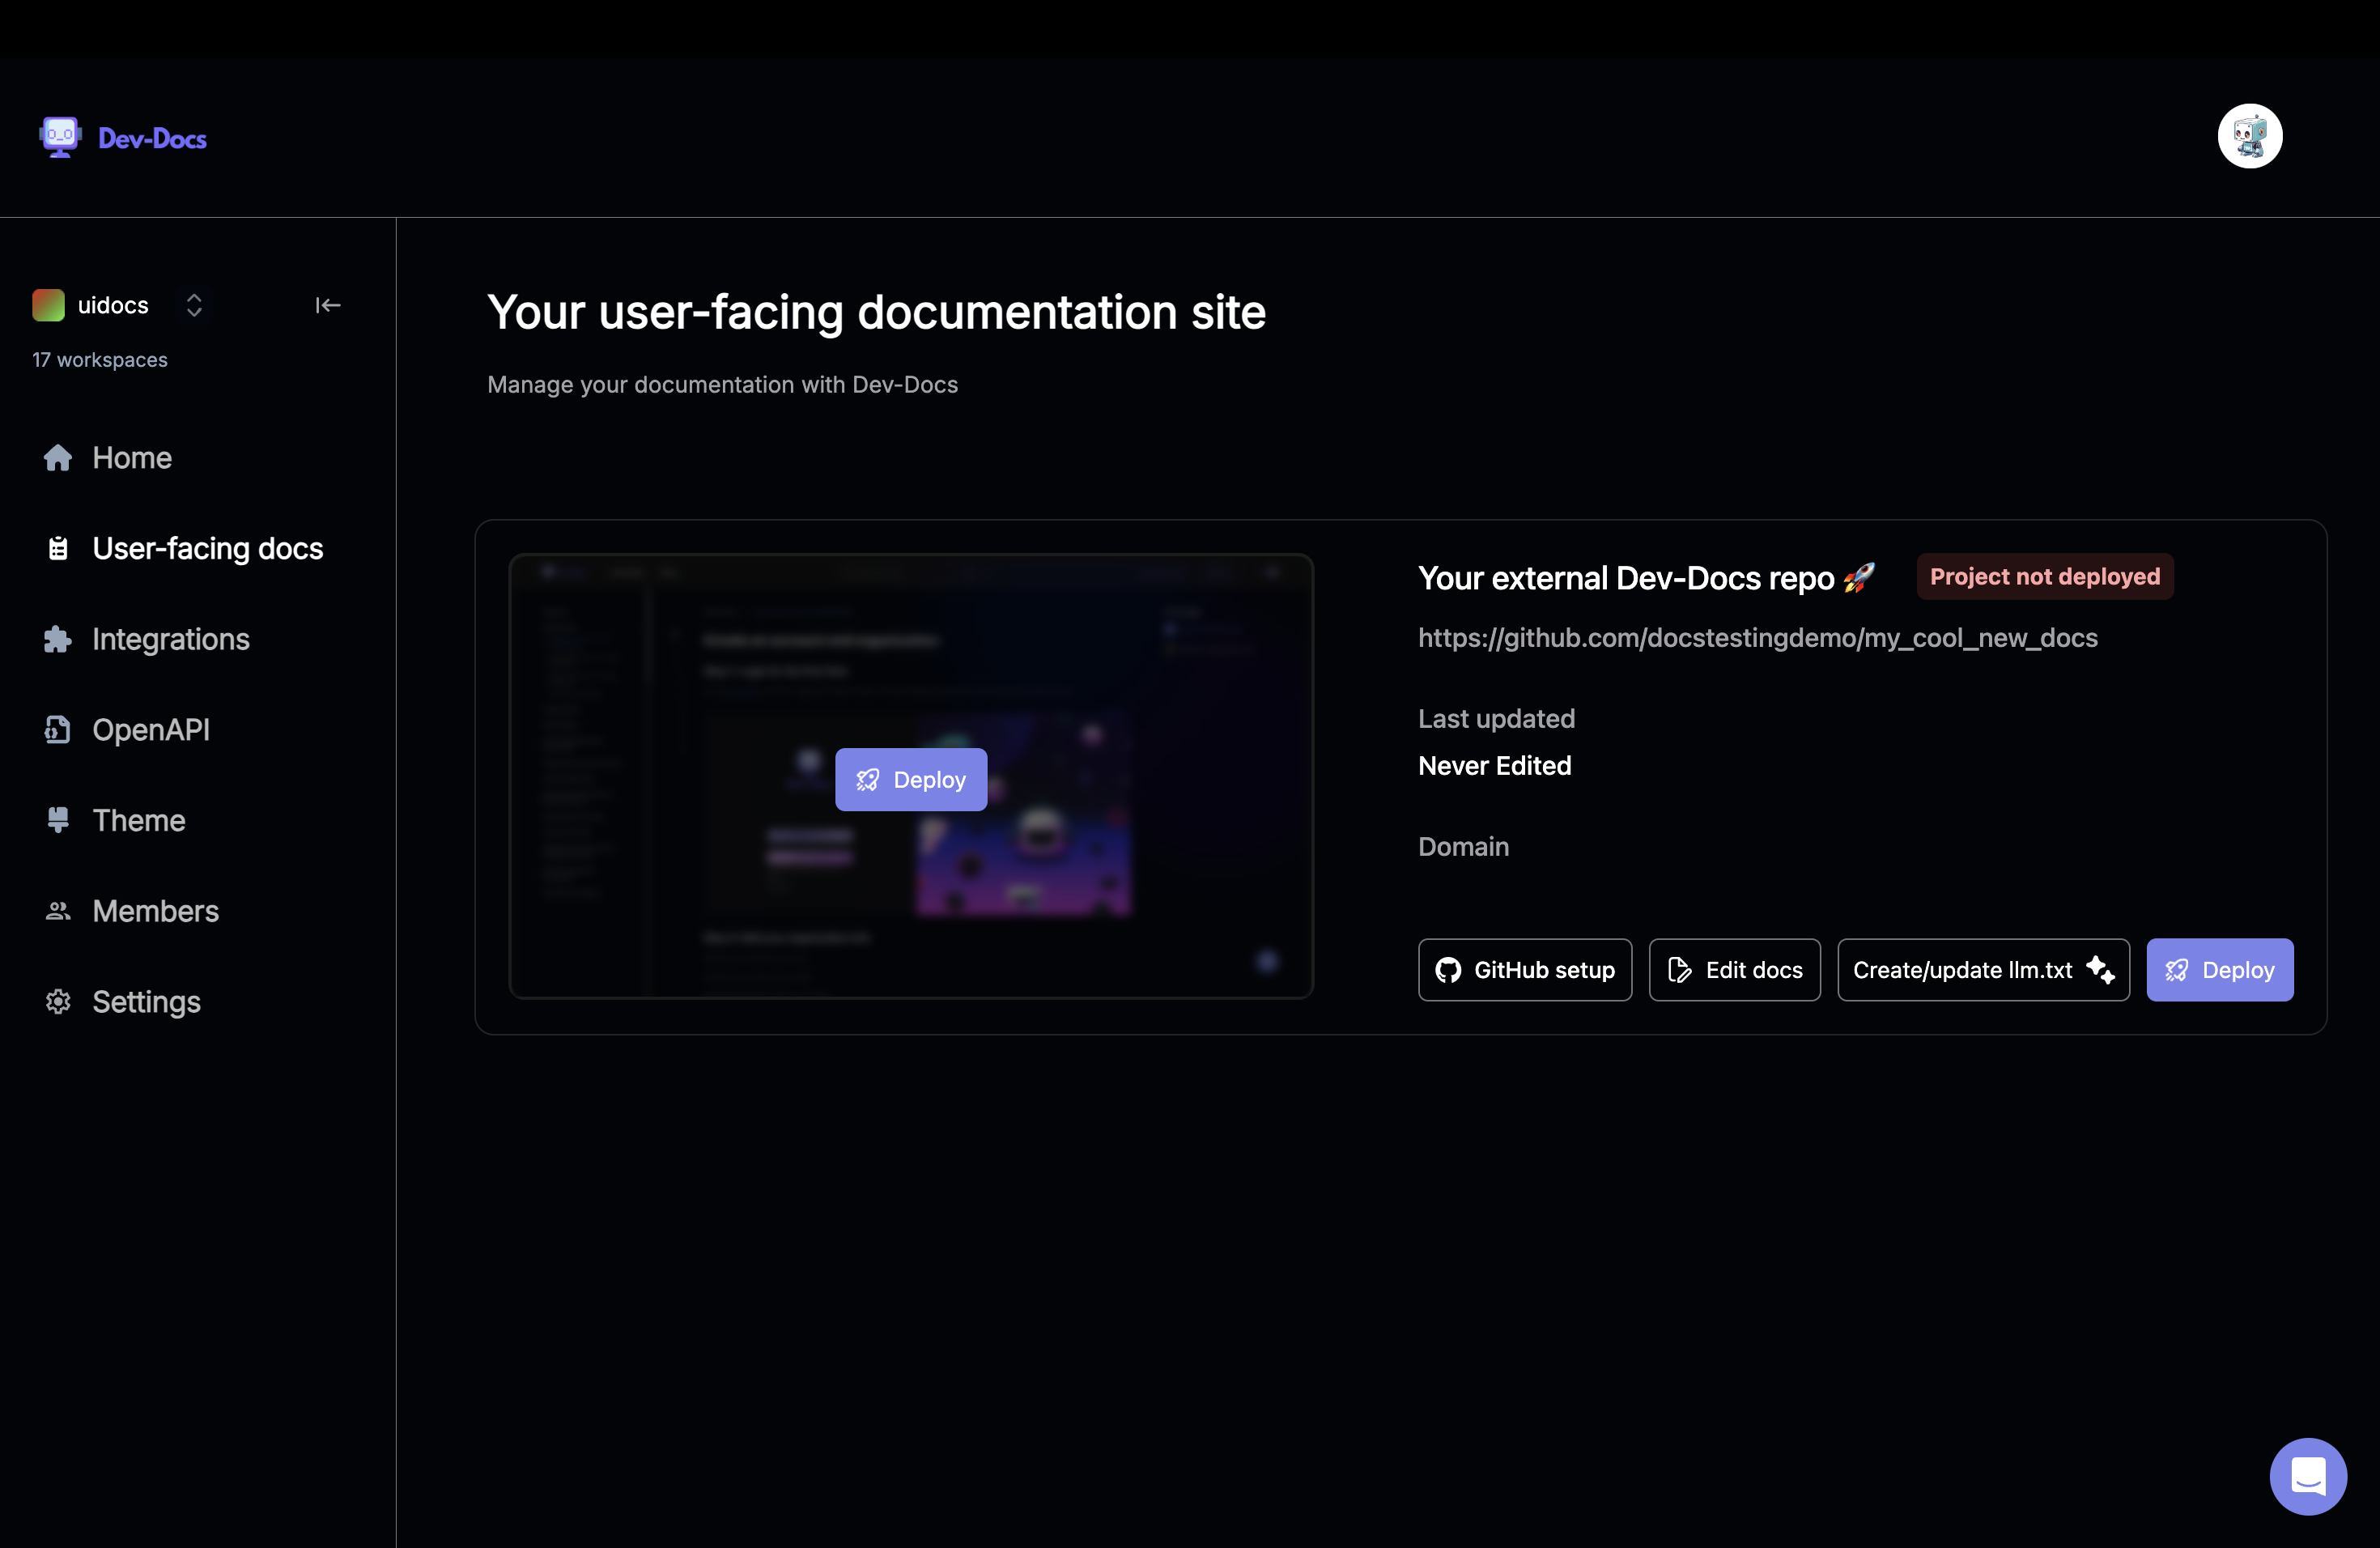
Step 15: Review and manage your documentation
Take some time to review the initial documentation structure provided by the starter template. You can now use the AI editor to:
- Update existing content
- Add new pages or sections
- Reorganize the documentation structure
- Collaborate with team members on documentation tasks
Remember to regularly commit and push your changes to keep your documentation up-to-date and accessible to your team or users.